I own since quite some years an Archos AV480 (or also Archos AV400 80GB edition called) http://www.archos.com which has started to loose some of it’s battery power. The battery was down to around 40-50% of it’s original capacity and loosing a few percent every few weeks.
So it was time for me to get a new battery. Sadly the player doesn’t support an exchangeable battery, but it’s quite easy to replace it.
The problem is, I wasn’t able to find a single manual on the net on how to do it, this is why I wrote this manual here.
So first of all you need a new battery. I found a high quiality one here at http://www.infinitybatteries.com/p-14073-archos-pocket-video-recorder-av400-80gb-music-player-battery-3150mah-li-ion-polymer.aspx. The best thing about them, they only ask for 2.95$ US shipping cost, globally!
I received the battery a few days after ordering, including 3 free screwdrivers (a Torx 5 (not needed), a flat head 1 and a phillips 0.5) plus a plastic opening piece.
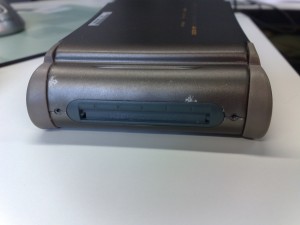
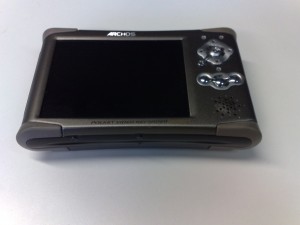
So it got time to get started, here my player.
Small warning before you begin, this guide is only for people who know how to solder!
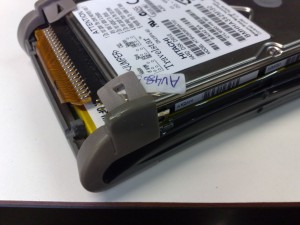
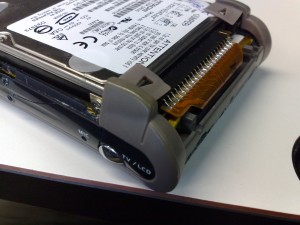
Time to remove all visible screws now. You should have 8 small ones and 2 slightly bigger screws. Do not mix them up 😉
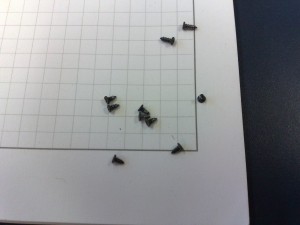
This is what it should look like after you removed the screws and allready tried to open it a little.
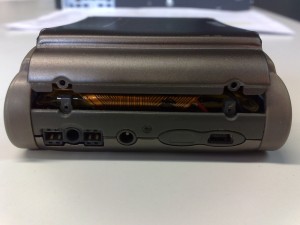
Now comes the absolutely hardest part of the whole tutorial. Get the thing open…
You can push the plastic corners gently up and while doing that, use your scredriver or better a plastic piece, to pop the backside open. t’s not mounted or something, just very hard to get away. Please note that you need to start to open it on the side pictured above, as the other side has a latch which keeps you from removing it.
Here a bit further.
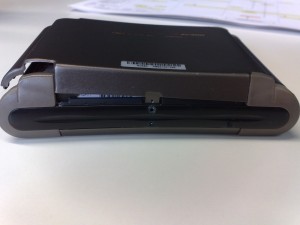
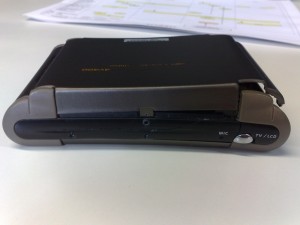
The risk is now VERY! big that you destroy the plastic a little. At least I did brake it, but it is still somehow holding together and keeping the dust out 🙂
After you got it now this far you can gently push it to the compactlash slot to finally open it.
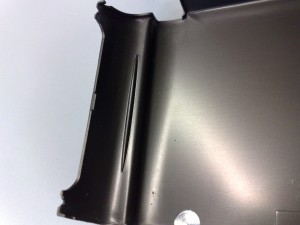
Yes, this little small latch was a problem to open it.
Here where it was sticked in.
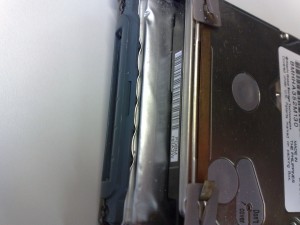
But yes, it is open now 🙂
Time to remove those two etal latches and also the black stickers at the harddrive screws.
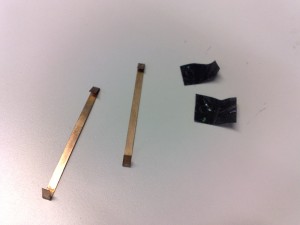
Under the two stickers are screws hidden. Remove them.
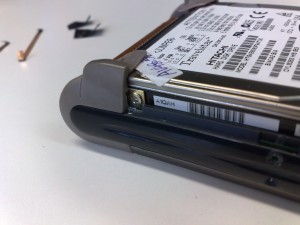
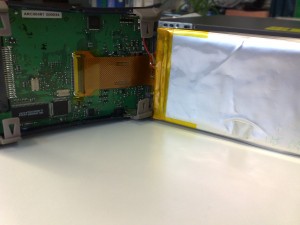
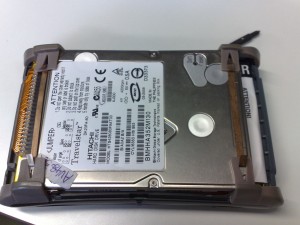
Now you can gently lift the harddrive. Under it is our target, the battery.
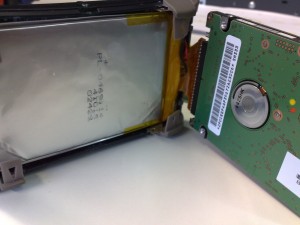
Gently remove the IDE plug without denting the pins. Do not use force!
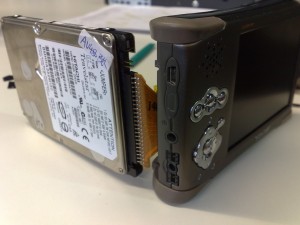
Time to unpack the new battery now.
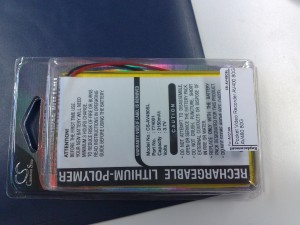
Remove now the old battery. Watch out, mine was sticked to a chip on the board. So slowly push it up, it will loosen itself, just do it slow.
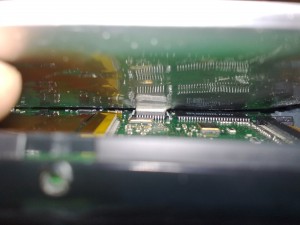
You need to unsolder now the old cables from the board. As mentioned before, do that only if you have soldering experience, otherwise you kill the player.
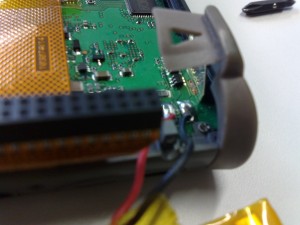
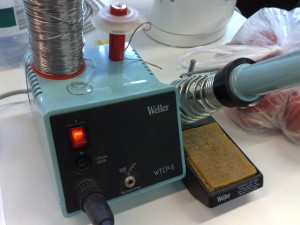
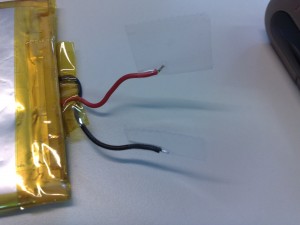
Now solder the new one onto the board. And yes I know, my soldering is horrible 😉 But it works, that’s what counts 😀
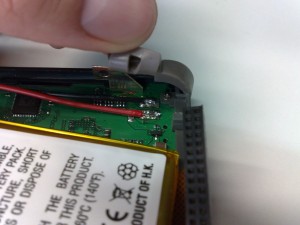
After this is done it’s time to assemble it.
That’s it, it’s assembled again 🙂
Now load the player at least 3 hours and hope it won’t explode 😉
Thanks for the info. Haven’t done soldering since college. My hands were shaking all over the place :).
Got a green light and it powers on. Fingers crossed.
Und läuft das Teil jetzt immer noch?
Funktioniert immernoch wunderbar 🙂
Very good that you did this and published it on the internet.
But as I am not technical at all iwant to ask if you jnow somebody who will do this for me. Unfortunaly i live in holland but you never know
toos van kuyk
Sorry, I don’t know anybody living in holland tha could do this for you.
Thanks for this – I had the 100 gb for years & did not want to throw it away – this allowed me to replace the battery – works great!!
Thanx for the info you provided. Got 2 questions firstly if i cut out the battery (making sure i cover up the live wires with black tape) would it still work as normal using ac/dc adapter?? Secondly i would prefer to either solder on the battery side rather than the actual board, is there any problems that may arise if i choose this path?
Hi Shyne
To you first question, I don’t know, haven’t tested it. I guess it would, but absolutely not sure.
Regarding your second question, in my case were the cables already fix mounted on the batter pack. But you could cut them, instead of soldering, and leave around 2 cm, then unshield it and connect it with the new cables from the battery and lastly put some anti-electricity sticker around it. I hope you understand what I mean.
In the end you just need to have the new battery somehow connected to those two ports on the Archos, without making a short circuit.
thank you for the info. my unit suddenly went from 3 hours palytime to a few minutes. do you think it is the battery or the software info that controls the recharging process?
Hi Nat
This sounds erally strong like the battery what you describe here. When you load the unit, is the symbol for the battery full afterwards? If so, then it’s probably the battery that’s close to dead.
Thank you for info but can you explain where all the screws are located. I can only see 5 screws, 3 in one end and 2 in the other. Where are the other 5?
Hi David
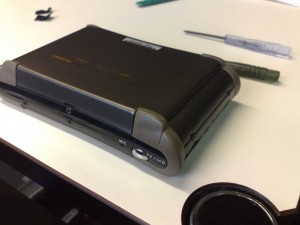
I guess you miss the ones in the plastic part on the down and upside. See picture 2 and 3.
where can i buy the battery for the av 480? the site mentioned seems to have closed. thanks
Sadly I have no idea. I guess you have to use google to find anything useable.
New mp3 technology has everything for ARCHOS:
http://www.newmp3technology.com/av480-battery.htm